Have you ever noticed that Americans love turkey, but only make it once a year? Countless people make turkey sandwiches part of their routine diet, but only delve into the actual preparation of the bird at Thanksgiving. Safe to say that I am part of that crowd. And every year I tell myself that I will do otherwise. Then Thanksgiving returns…
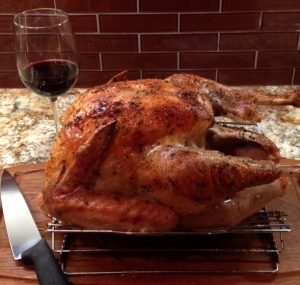
But one thing is clear to me. There is NO excuse for not having a spectacularly tasty and moist roast turkey on that special day of gratitude. It just takes a little effort. You will be thanking yourself for taking the time and everyone who eats your food will too.
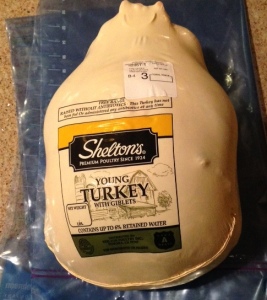
Fresh turkey makes a difference
Like most things in the kitchen, great ingredients lead to a great meal. There are a number of stores that will sell you a fresh turkey. Once in hand, the 12 hours before you cook are crucial.
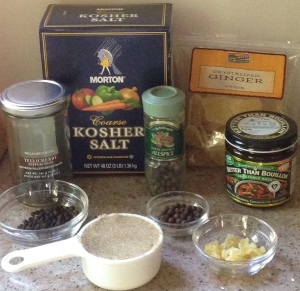
Brine Ingredients
Don’t ever let anyone tell you that brining doesn’t matter. Nonsense! It remains one of the most important tasks to ensure a great turkey experience. Some specialty shops sell premade brine and many of them are terrific. A colleague noted her complete commitment to Spice Hunter’s Turkey Brine, and I look forward to trying it sometime. I went with a more economical route, following the counsel of Alton Brown. The recipe includes kosher salt, light brown sugar, vegetable stock, black peppercorns, allspice berries, chopped candied ginger and ice water.
Giant Ziploc Bag: What to brine your turkey in
I know what you’re thinking. “But Doc Kitchen, how am I going to get my 15 pound turkey into a bag with the brine and then back into the fridge?” The bag is relative easy to get, especially during November. But while it needs to be kept very cold for 12 hours or so, you don’t have to use your refrigerator. This is where the power of a Home Depot or Lowe’s bucket ($3) comes into play. Put your bag in the bucket, place the bird inside, pour the icy brine on top and seal up the bag. Pack a lot of ice into the bucket around the bag to keep the contents very cold and you are good to go. Always follow food safety rules.
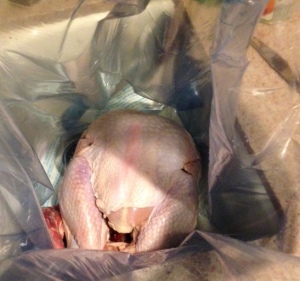
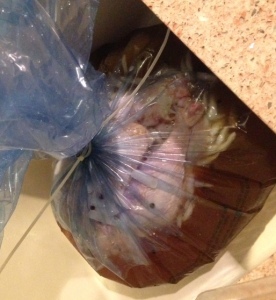
Placing turkey in bag
Bag with brine and turkey sealed up and ready to go back in refrigerator or ice bucket
Getting ready to cook
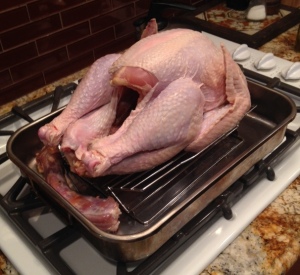
The general rule for cooking turkey is 15 minutes per pound. Take your turkey out of the brine, pat it dry and place it on your turkey rack in the roasting pan. The next two steps are incredibly important; not only for the flavor of your turkey but the quality of gravy you can create.
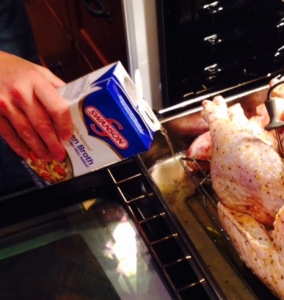
Adding chicken stock to cooking pan
Then I take ¾ cup of good olive oil (roasted garlic infused is even better), 2 ½ TB of garlic powder, ½ tsp black pepper, 1 tsp salt and 2 ½ tsp of dried basil and whisk together. With a pastry brush (see video), I spread the mix all over the turkey, using every drop. As the turkey cooks, this will drip into the roasting pan while cooking, creating a great flavor profile for the gravy.
Video also available on YouTube at https://www.youtube.com/watch?v=Ic9P_zhrvLo
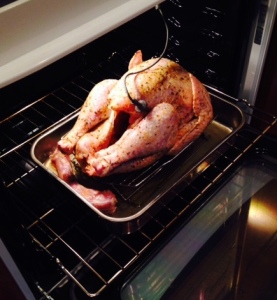
Turkey in Oven with Temperature Probe
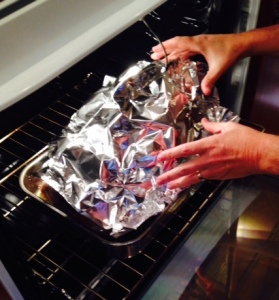
When you are ready to go, place a meat thermometer inside the thigh. Place the turkey in the oven and lightly cover with foil.
Initially, set your oven to 325 degrees. After 2 ½ hours, remove the foil and increase the oven temperature to 350 degrees. Cook until the meat thermometer reads 165 degrees. Take the bird out of the oven and let it rest foil-covered for at least 30 minutes before carving.
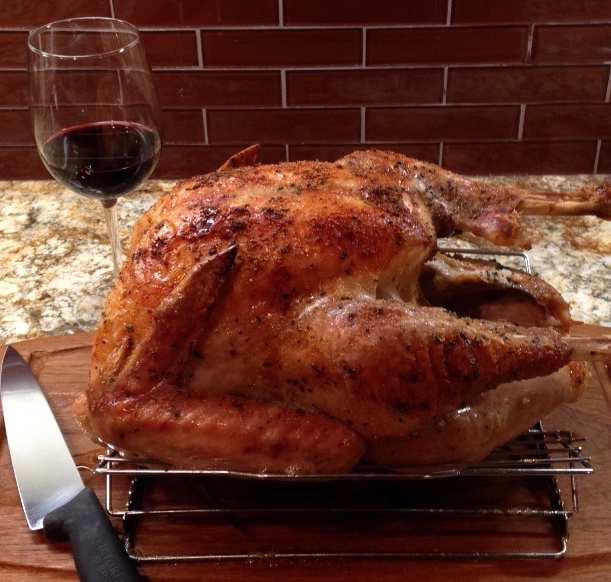
Some Good Eats!
Next Post: Thanksgiving Part 2: It’s All Gravy (with a little potato thrown in)
