
Space, the final frontier…
Oops! Wrong category…
Actually, in this post I do want to address space in the designing of personal ornaments.
Space in a necklace? What the heck is she talking about?
I am talking about visual space. It is better understood if I talk about a drawing on a piece of white paper; it is the white portion of the page that is not drawn upon also referred to as negative space. Negative space is the matrix, if you will, that enables the objects to exist as entities. The space between these words is what allows the reader to understand the writing better.
Ifthewordsareallcrammedtogetherwithoutspacesyoucanstillreadthissentencebutitismoredifficult.
Now you understand what I mean. The key to pleasing aesthetic composition is finding balance between the negative and positive spaces.
This is where spacer beads, bead caps and other elements such as chains or connector pieces come into play. These elements are used to complement and actually emphasize the main beads that you have chosen for your design.
First I will show you some examples of spacer components and then before and after pictures to illustrate how they are utilized.
Variety of silver spacer bead

Variety of gold spacer beads

As you can see, spacer beads are relatively flat components. They are used to create a space between larger, wider or more circular beads. Other things that can add a visual space between beads is a bead cap.
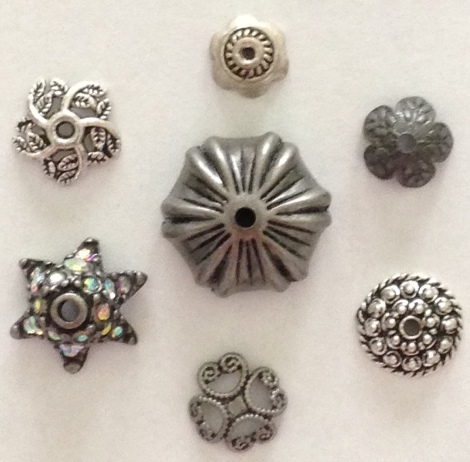
Here are some examples of silver bead caps
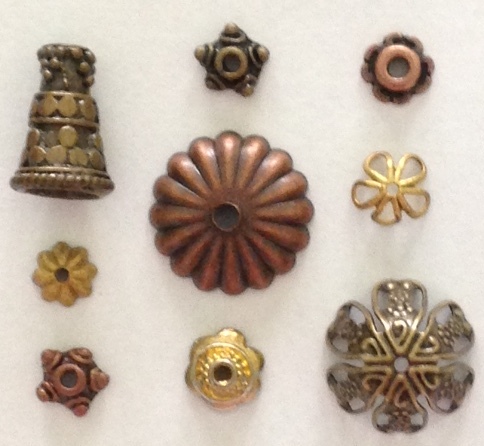
Here are some examples of gold bead caps (one cone on left)
I really like to use these but they can make your project more expensive. For example, in a necklace, generally twice as many bead caps as beads must be used; one on either side of each bead. You also have to have the correct size bead for them to sit upon and look right or better I should say. That statement will be illustrated in a few pictures.
Other components that can actually be less expensive to use is chain or spacer rings between beads or using bead sections or adding chain to the end of the bead strand. This last option is great; I have longer hair and so no one is lifting my hair to see beads on the back of my neck. Why not use less expensive chain to finish off the piece, right?
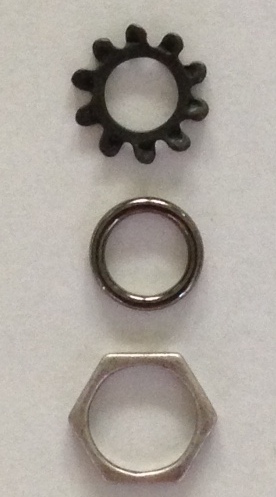
Spacer rings
Example of using chain to separate beads. Don’t worry, I will cover how to make that type of necklace in a future post.
Now for some examples of why it is a good idea to use space in our creations.
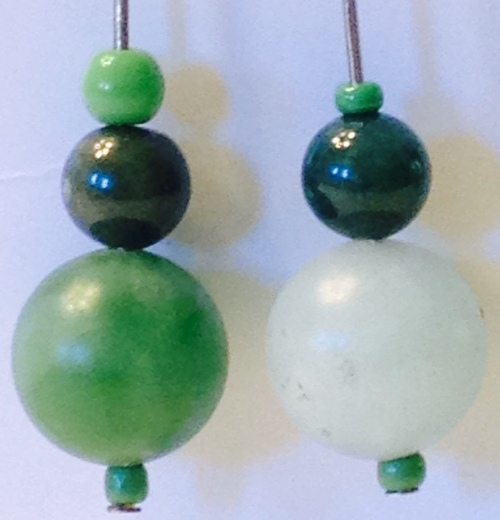
Here are some green beads stacked on a head pin. Fairly nondescript, eh? Not a compliment winner.
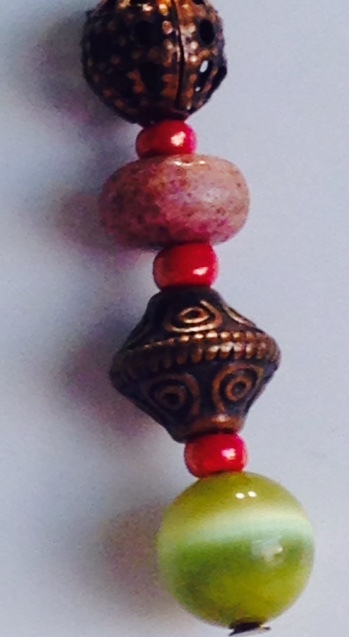
Here are the same beads with bead caps and spacer beads. A little different, eh?
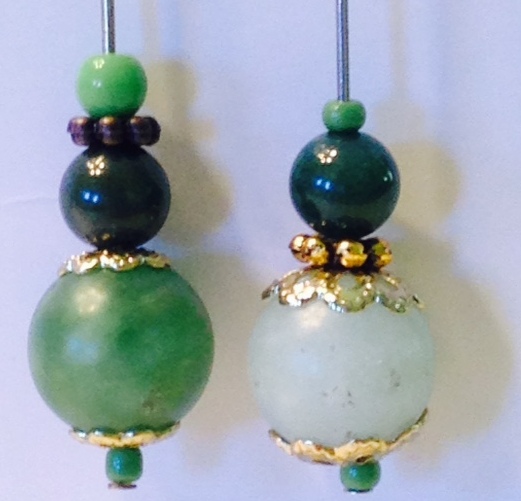
Not only can you change the look with spacer beads, look at the variety you can get with changing the bead cap (one on left is smaller) or one bead to a different color or size.
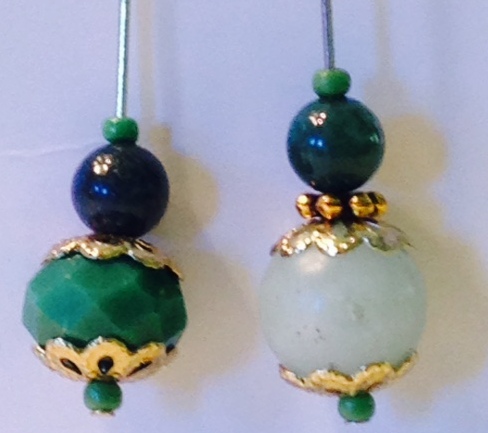
Notice that the faceted bead is a little small for the bead cap. You see less of the bead.
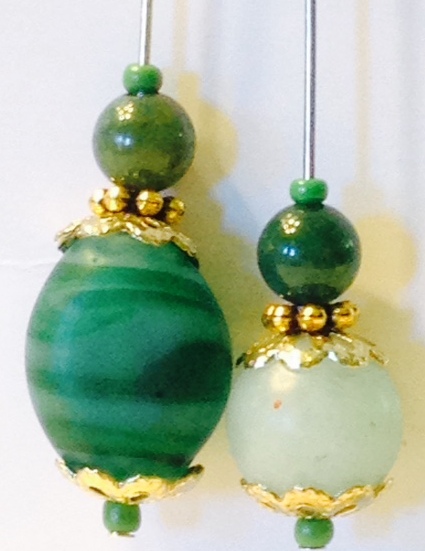
Using all the same components except changing one bead. I like this bigger striped bead with these size bead caps just a little better than the faceted bead above. What you choose to use all depends on your preferences.
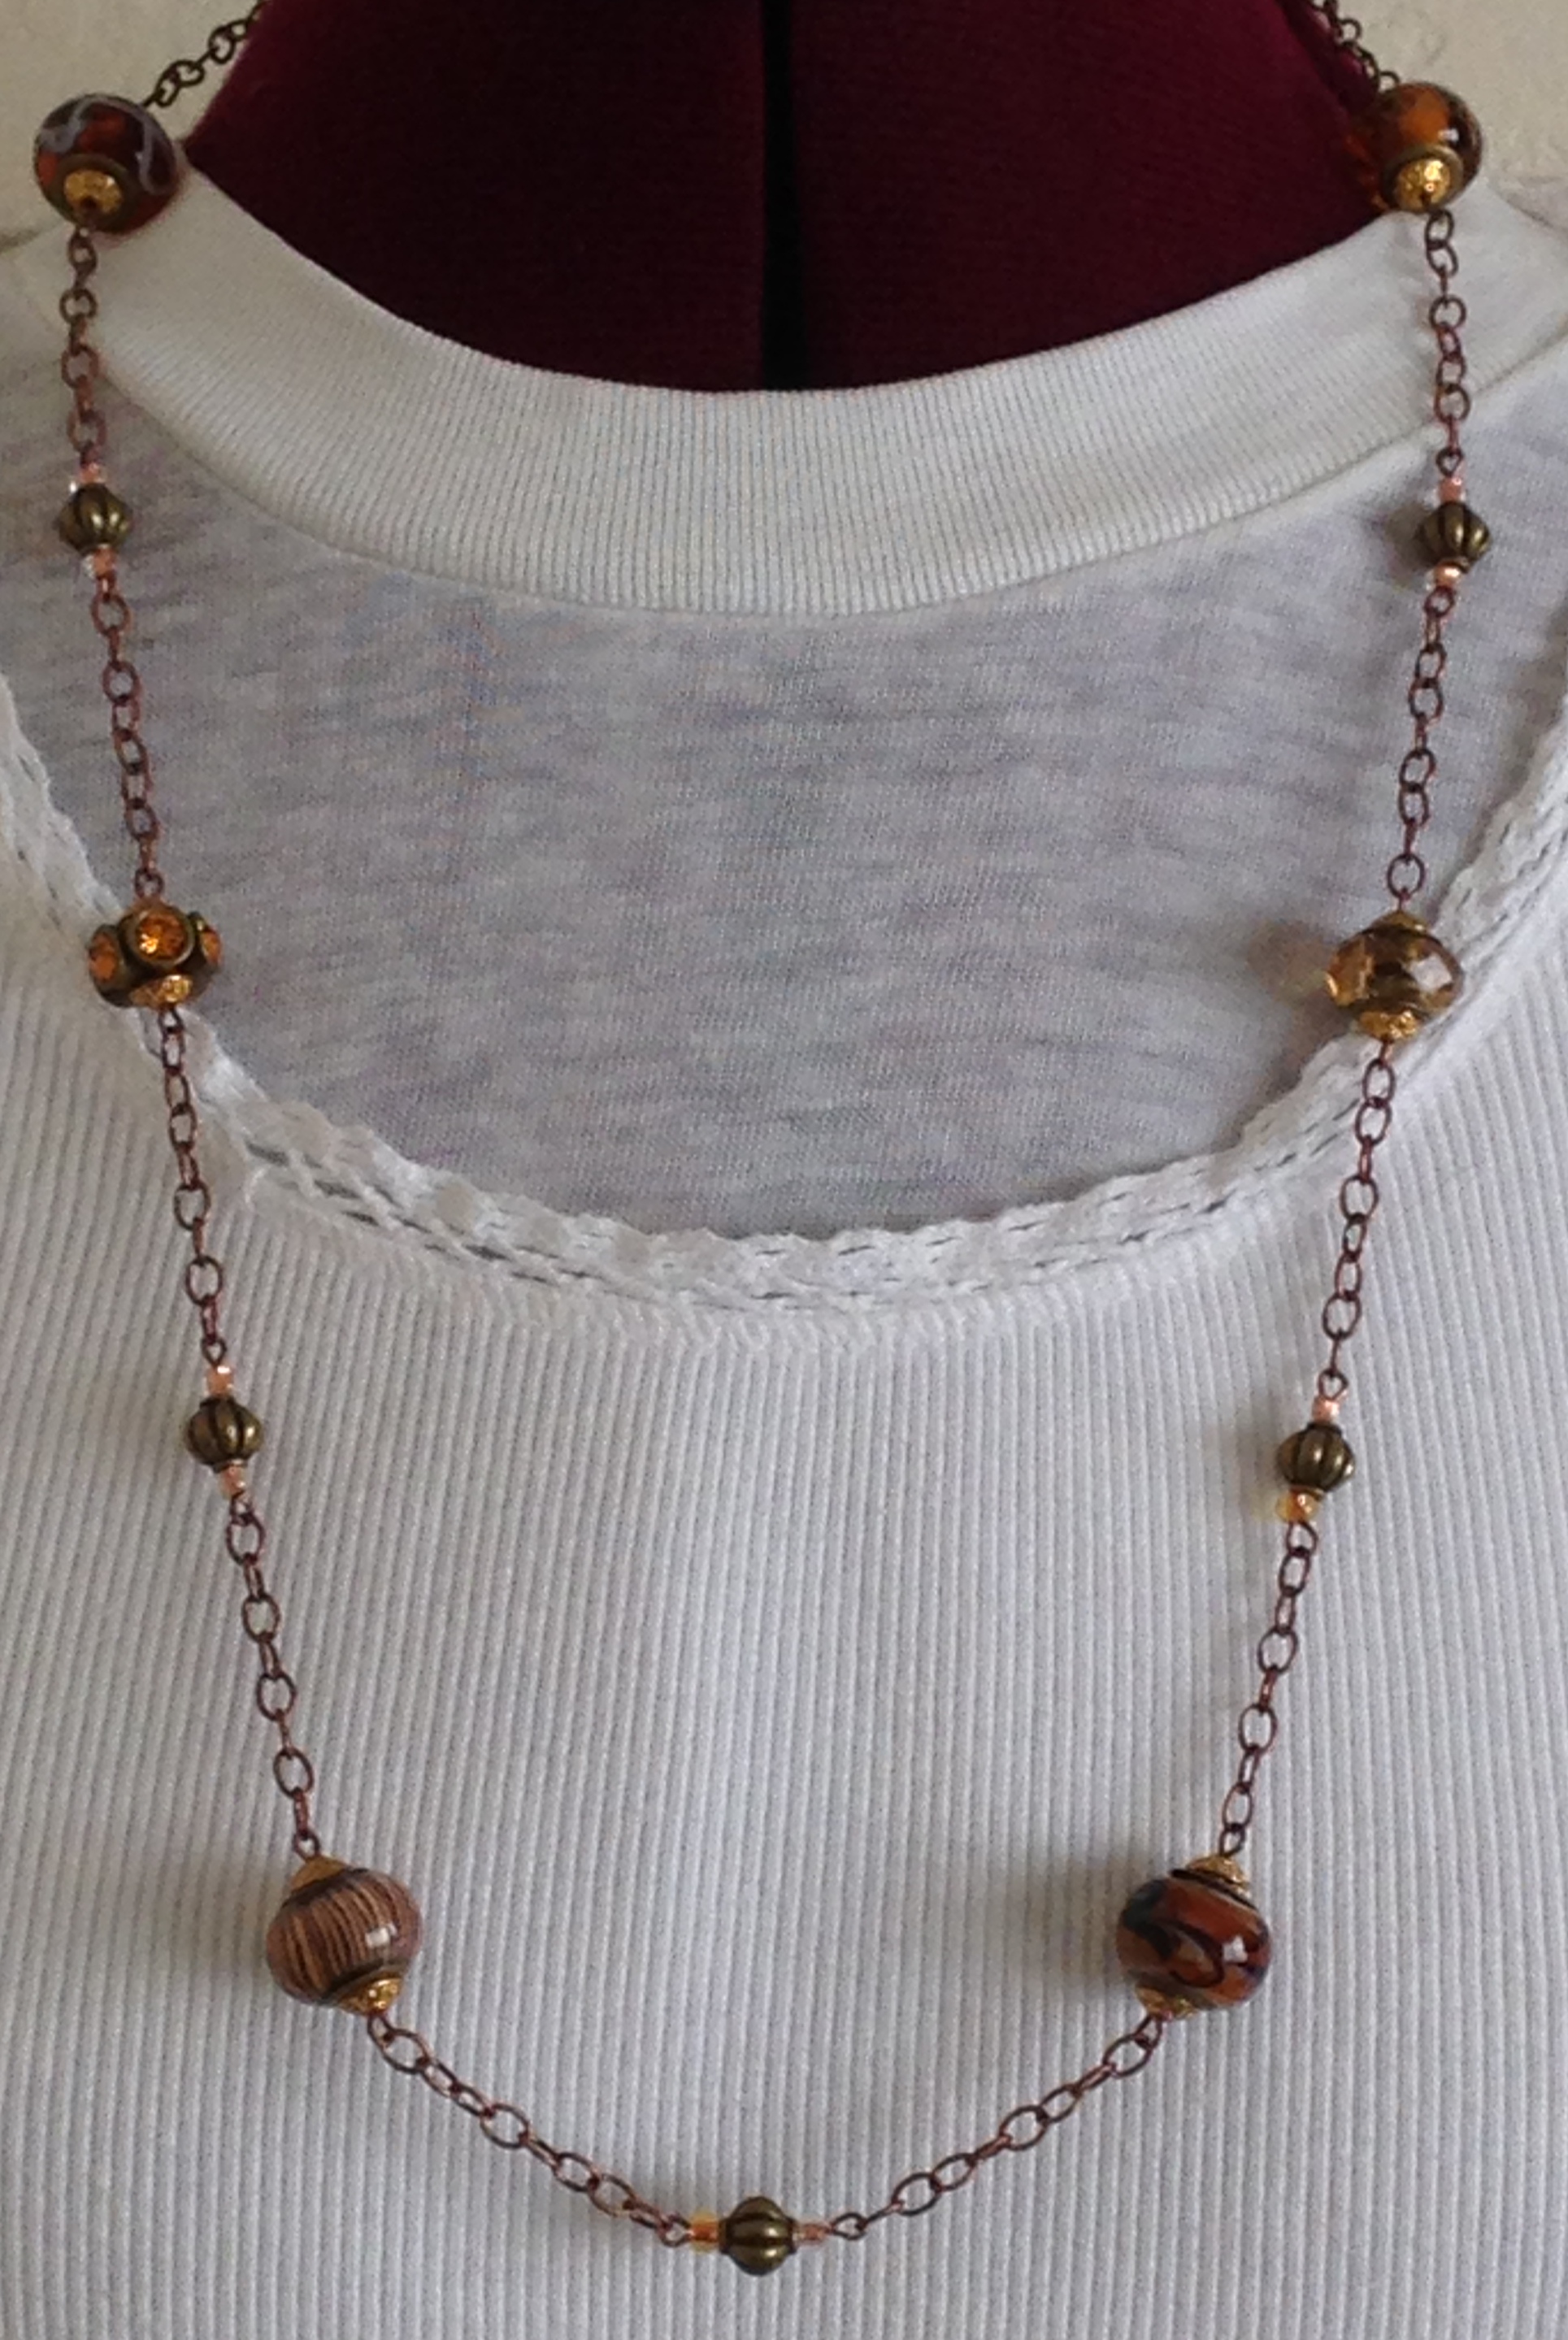
Here is an example of building a bead section for my Thanksgiving Day necklace. I will showcase this piece in the next DIY jewelry post but wanted to show you how I go about the process.
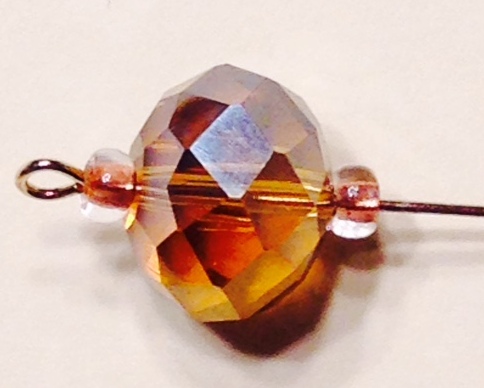
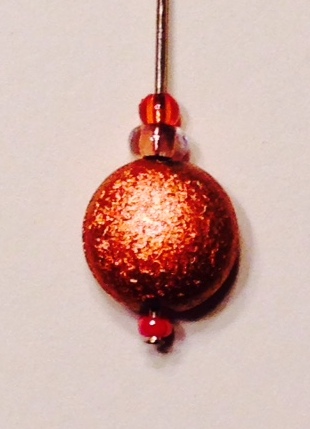
The large amber bead is the lead singer but it needs some back up. The beads have to audition for the part. First, I tried copper-colored E beads flanking it. Too monotone.
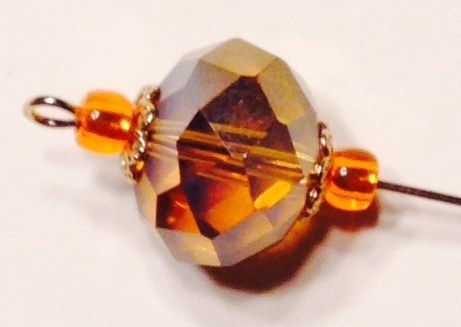
So then I used orange E-beads with a gold bead cap. Eh, better but not there yet.
Here’s my final choice.
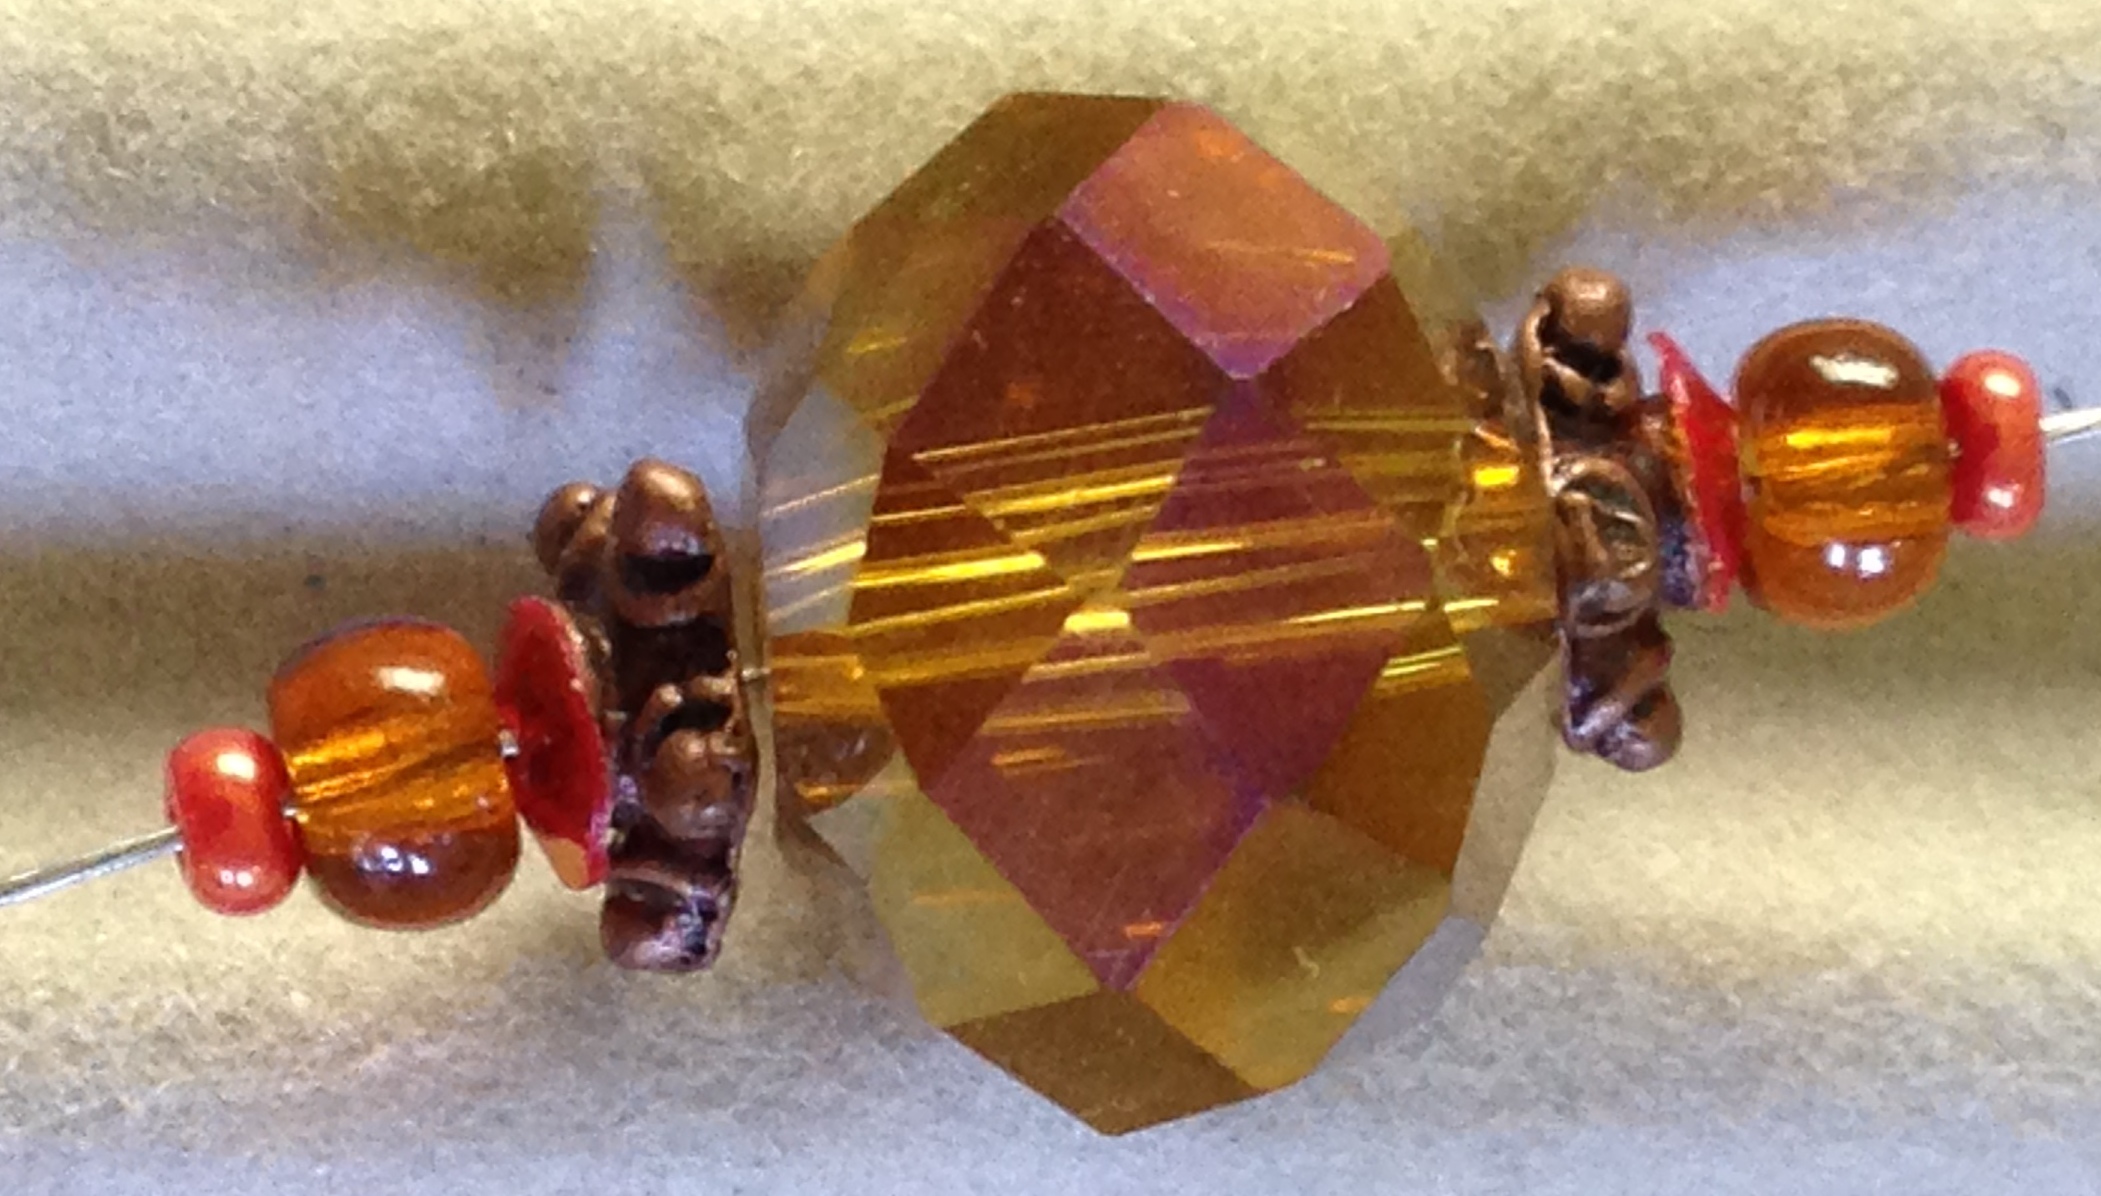
Notice how I used a larger as well as more contrasting bead cap in addition to the E bead, a seed bead and a small sequin. There is more detail and depth added to the section.
Here is another example using orange beads (guess I am in orange mood today- must be from looking at all those Thanksgiving decorations!)
Before:
After:
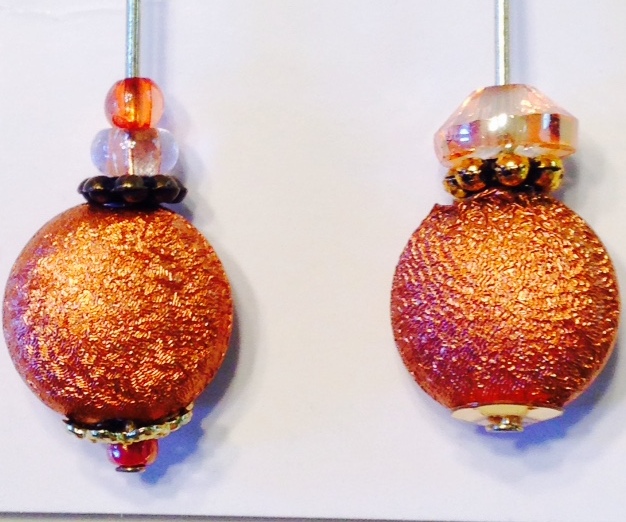
The earring on the right is using a sequin (vs. a bead cap) on the bottom too. Orange you glad I pointed that out? Okay, okay, enough bad puns.
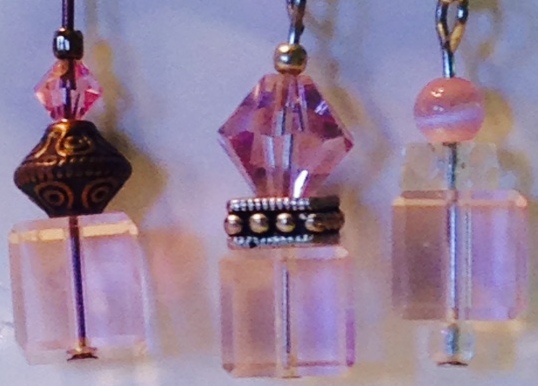
Here is an example of using the same square pink bead with different spacers and other bead shapes. The one on the right uses clear spacers. Wow! Three really different appearing earrings using the same general format.
Depending on the look, you can use any bead to be the spacer; like this one using seed beads.
So now that you have got the picture (LOL), the next post will be on pattern and showing how I constructed my Thanksgiving necklace.
Coming soon…
